

Adding pegs to your pro scooter will open up a whole new world of possibilities when it comes to tricks. Pegs will allow you to do grinds and stalls that would have been impossible without them. Watch the following video on how to install pegs onto your new Arcade PLUS Pro Scooter. For those of you who prefer to read the instructions you can download the instructions below.
Peg Installation - Step by Step Instructions
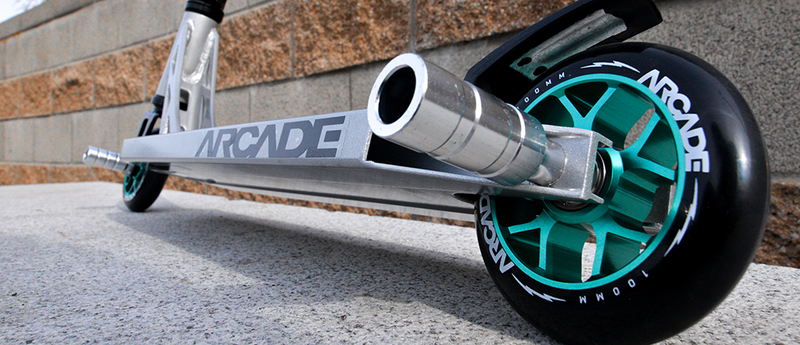
Step #1. Remove Wheel

To remove the wheel, place the Allen keys into the screws on each side. While holding one Allen key steady, turn the other Allen key counter-clockwise to UN-tighten the screws. Be careful not to strip the screws. Turn them nice and easy. Use leverage to easily unscrew by holding the deck parallel to the ground as pictured above.
Step #2. Save the Spacers, Washer, Screw, & Wheel to Reuse

Keep an eye on the 2 spacers, 1 washer, 1 screw, and 1 wheel, as they fall out. We’ll reuse them to install the longer axel and peg.
Step #3. Add Longer Axel, Peg, & 1st Spacer

Once the wheel and parts are removed, place the included longer axle with the peg. While holding the axel in place of the peg with your finger, slide the axel and peg through one side of the deck hole. Then place the spacer over the long axel.
Step #4. Add Wheel & 2nd Spacer

Set the wheel back into place and slide through the axle but not all the way through, keeping just enough space between the wheel and the other end of the deck. Next is the trickiest part: slip the 2nd spacer after the wheel, between the wheel and the deck.
Step #5. Align the Parts

Make sure the axel and parts are lined up so that the axel holds the 1st spacer, wheel, and 2nd spacer. Use the end of the Allen key to line up the parts.
Step #6. Add the Washer

Once the parts are lined up, place the washer on the outer end of the deck hole.
Step #7. Add the Screw

Next, add the screw back and quickly tighten by hand to secure in place.
Step #8. Tighten Screw

Lastly, tighten the screw with you Allen key and you’re done. Happy riding!
Pro Scooter with Pegs Recommendation
Arcade Plus Pro Scooter

The Arcade Plus Pro Scooter is the ultimate scooter for the beginner or intermediate ride. The complete scooter is pre-built and ready to ride with trick pegs for additional trick performance.